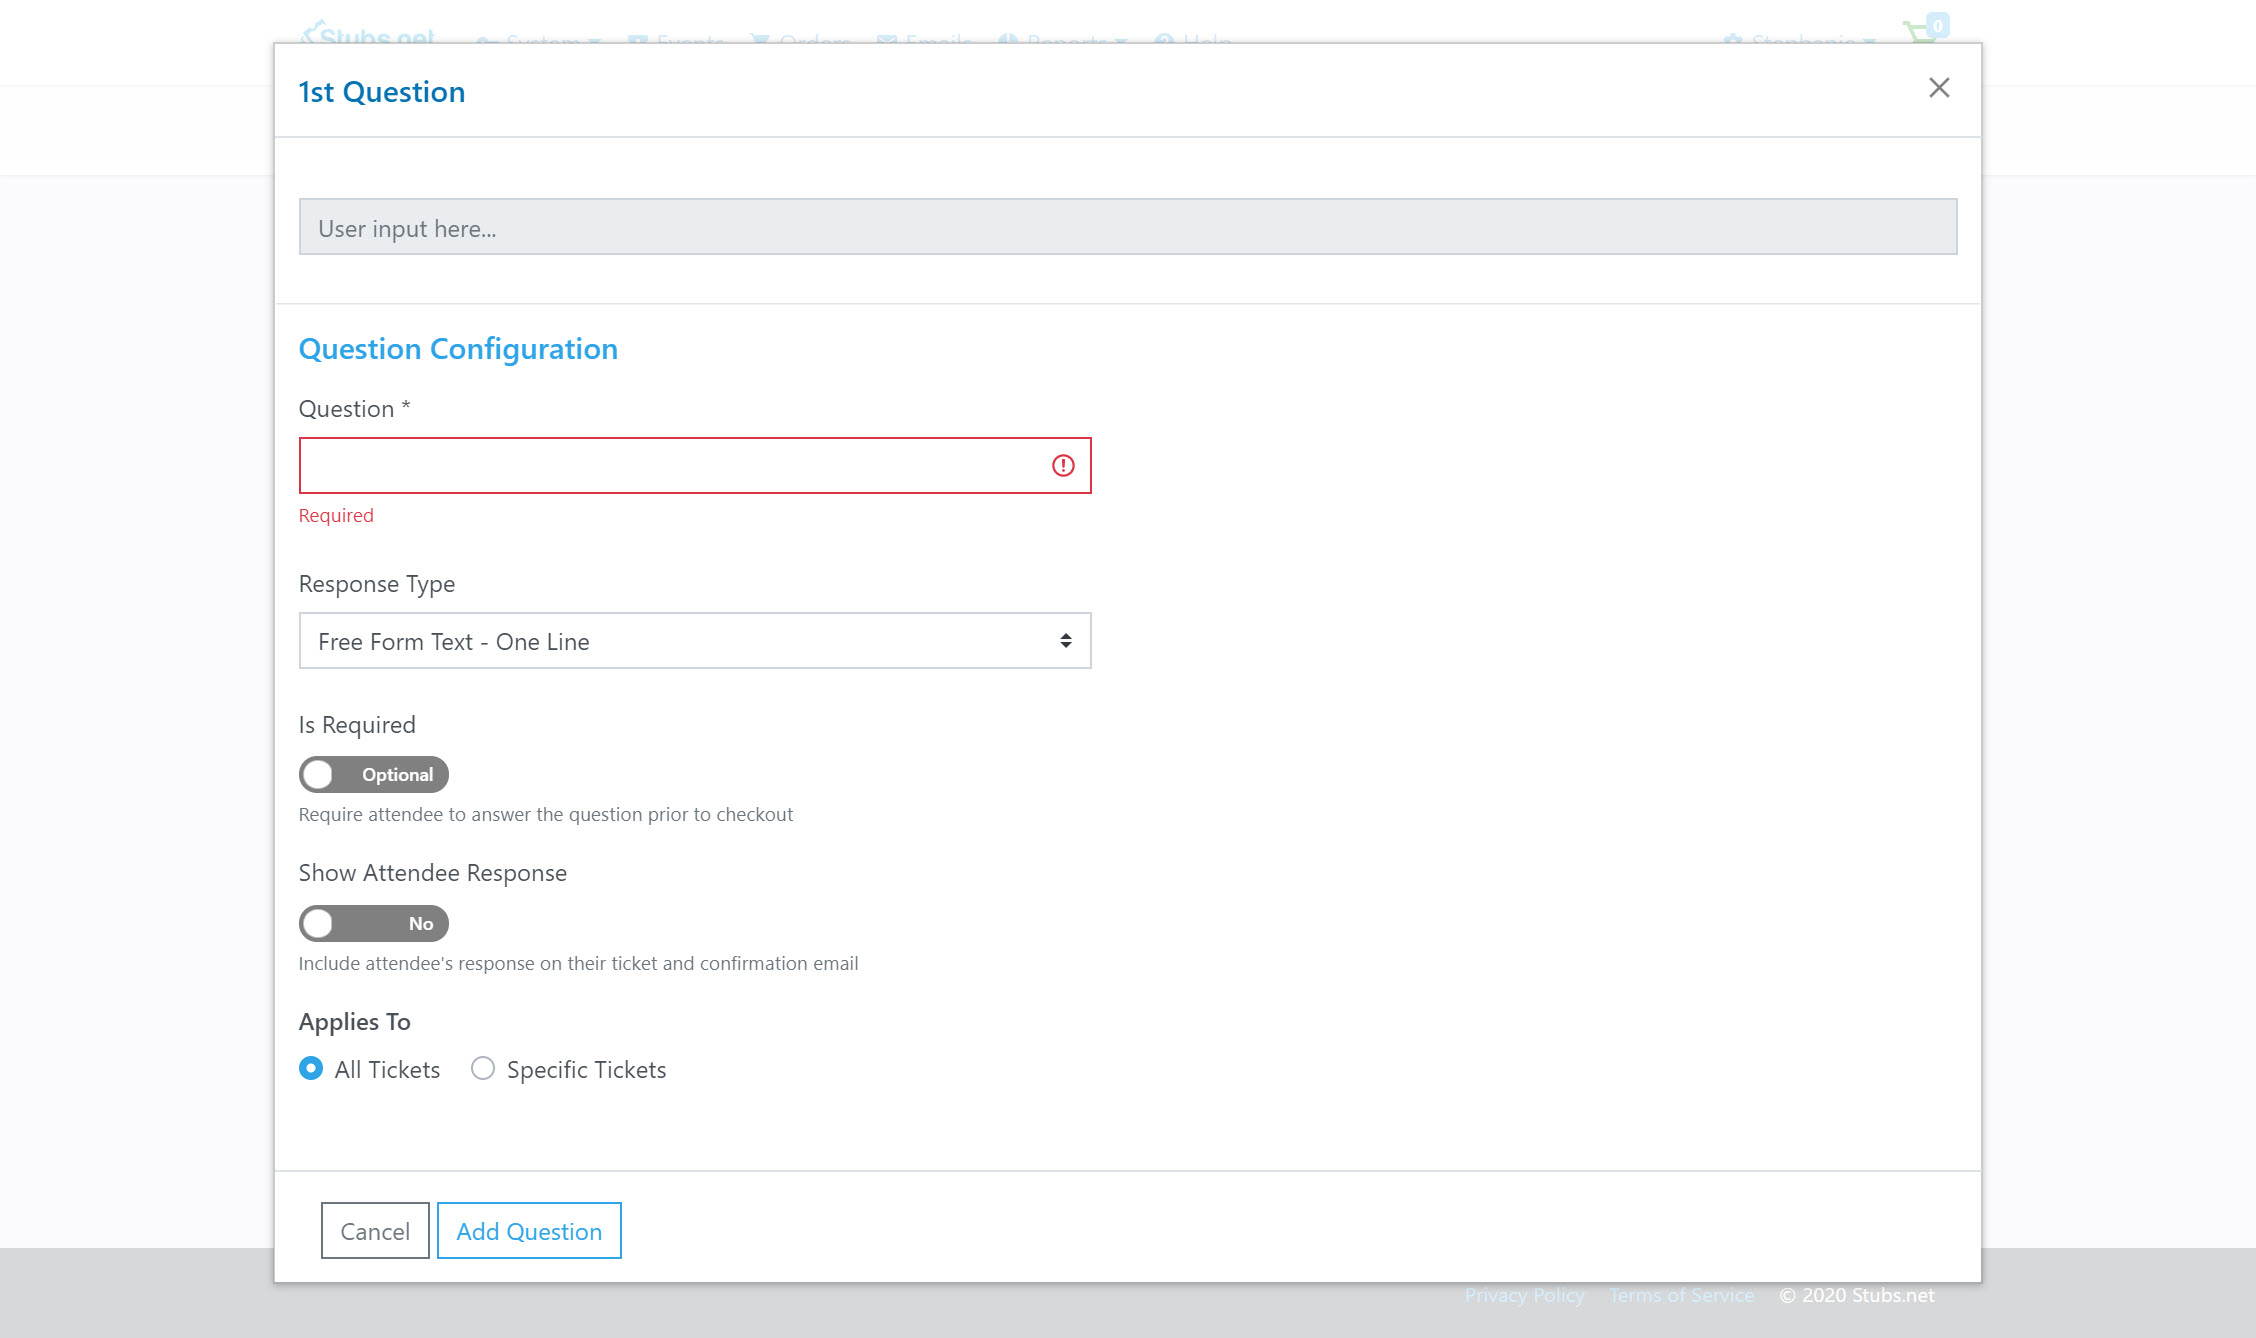
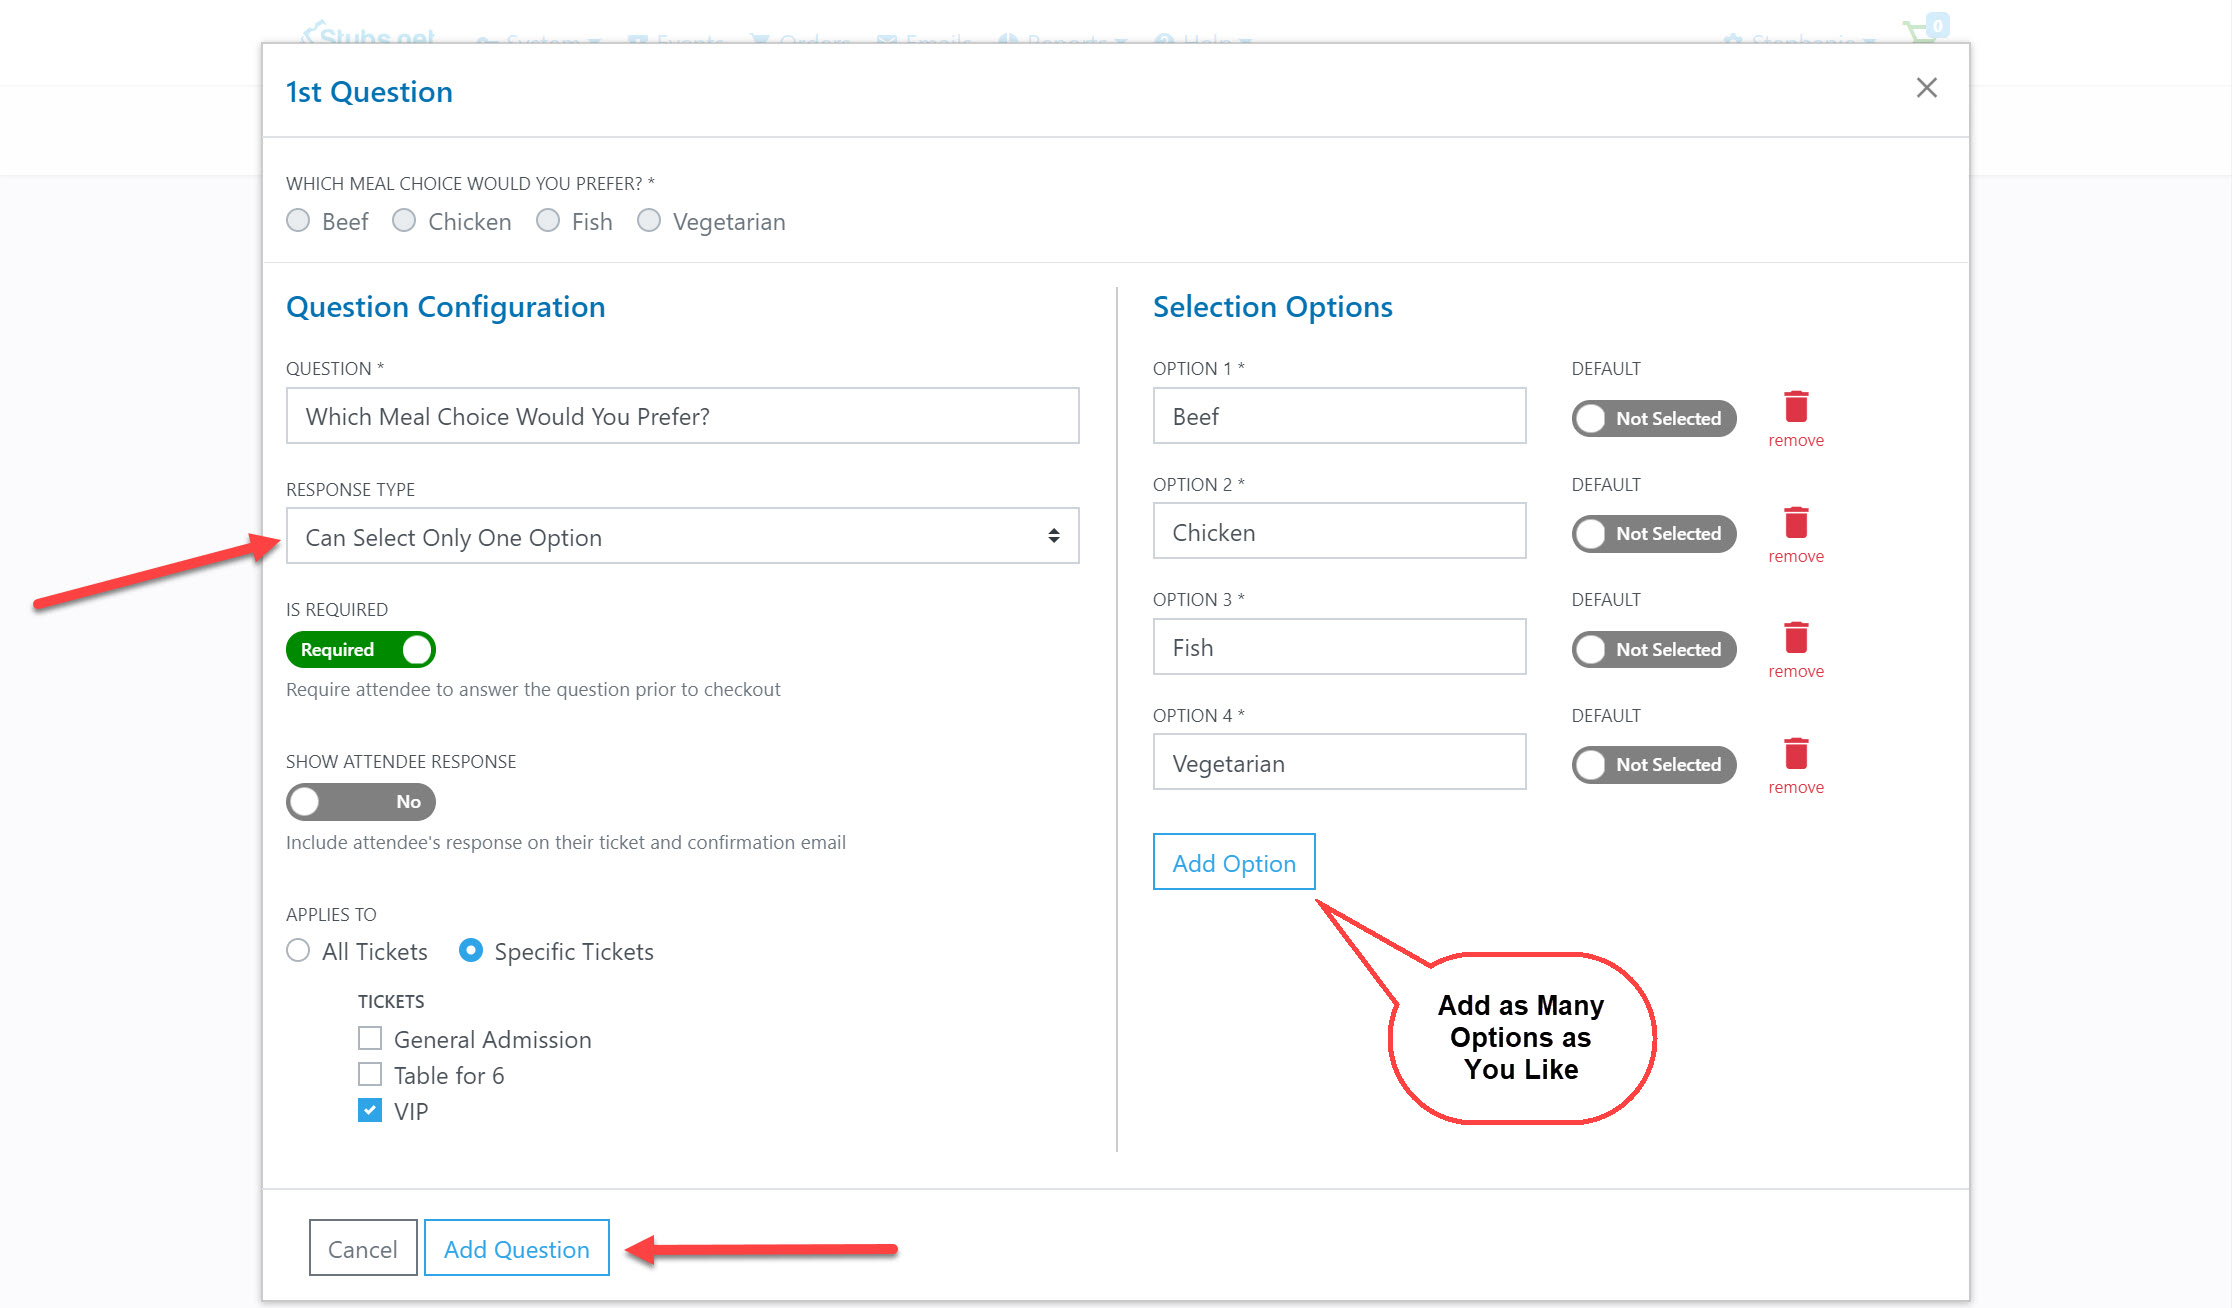
1. If you need to ask questions that are not in the list of stock questions, you can create custom questions as well. Click on Add Question at the bottom of the Forms page to create your own questions.


2. You can type in your question and select the type of response you want to receive. Custom questions can also be asked on a per ticket or a per order basis.
Each custom question can be required or optional. You will probably want to require responses to questions about clothing size, food choices, etc. Attendees will only have the option to change their answers to these questions if you selected that option at the top of the page.
One you have finished creating the question and any relevant response choices, click on Add Question.

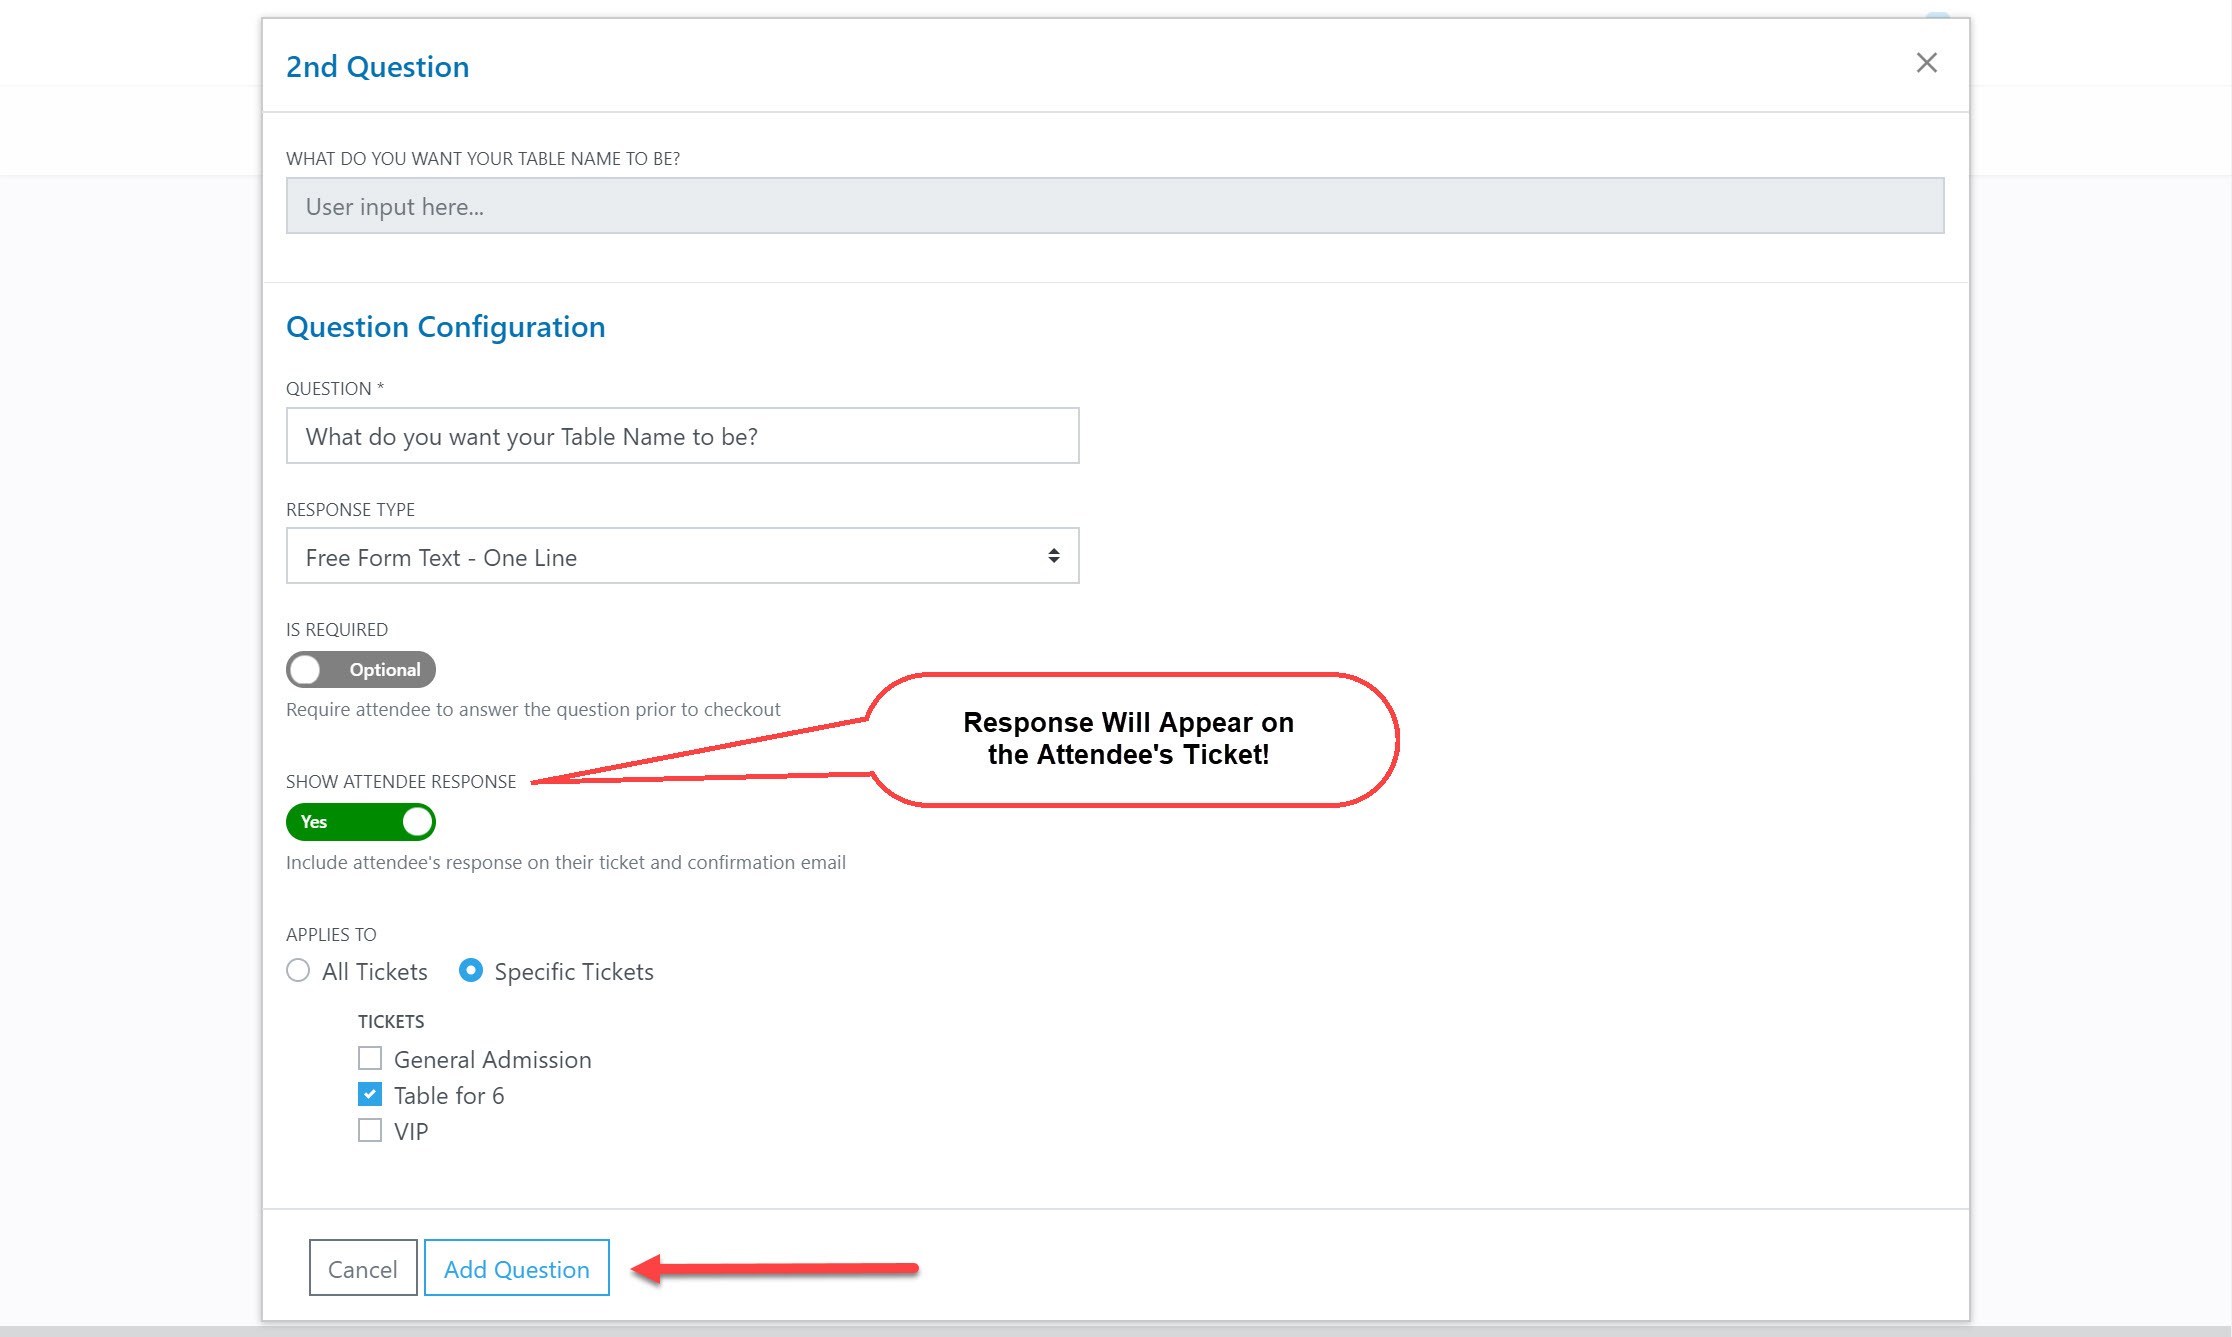
3. Let’s add a 2nd question now and make it optional. We will only ask Tables of 6 to answer this question. We will make the response Optional, but if they do provide a response we want to see it on their ticket. This can be helpful at the time of check-in if you want to see a certain piece of information. In this case it could be used to expedite the seating process.

4. Once you have saved your question, you will be taken back to the main Forms page. You will see all of your newly created questions along with the tickets they correspond with and whether they are required. Required questions will have an asterisk next to them.
If you are finished adding questions, be sure to click on Save at the bottom of the page.

5. How can I see the responses to my questions? You can view responses to custom questions in the same way you view responses to stock questions. Go to the Reports for your Event and then select either Attendee Responses (for a detailed view) or Response Summary.
